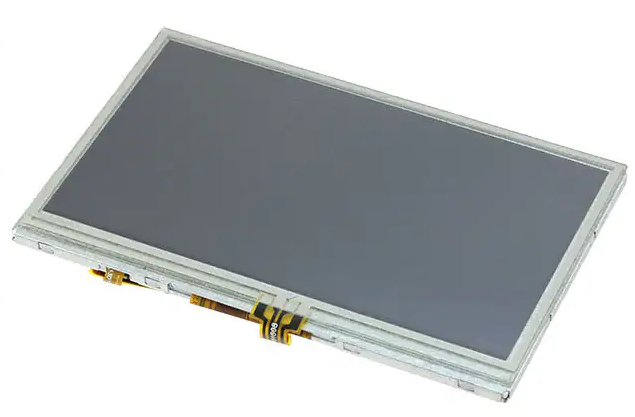
Asiga MAX or Pico2 replacement LCD control screen
This is a replacement LCD screen for the Asiga MAX or Pico2 3D Printers. It is very easy for user replacement. Turn off y our machine and remove the power cord from the rear of the machine. Remove your build tray, your build platform from the machine and set them in a safe and secure place, Use "Painter's Tape only" to tape your lid closed in the front, NOT SCOTCH TAPE!. Remove both side doors and set them aside in a secure place. Scoot your machine forward and lay a doubled towel down behind your machine. Tilt your machine on its back with the LCD screen facing upwards. Remove the #10 torx screws from the back sides of that front panel. Gently pull the front panel down and then up since it has tabs that extend into the heavy machined aluminum plate where your trays sit.
Once you have the panel free, gently and carefully rock the plug that goes into the LCD screen back and forth "longways", until you can easily remove the plug from the LCD panel. (DO NOT PULL ON THE RIBBON CABLE). Once you have this done you can lay the front panel down on another towel and remove the torx screws in the small metal frame that hold the panel in place. Take note of the foam pads position and orientation as you remove the LCD screen so you can put them back in the same manner.
Install the new screen and reverse the process.
